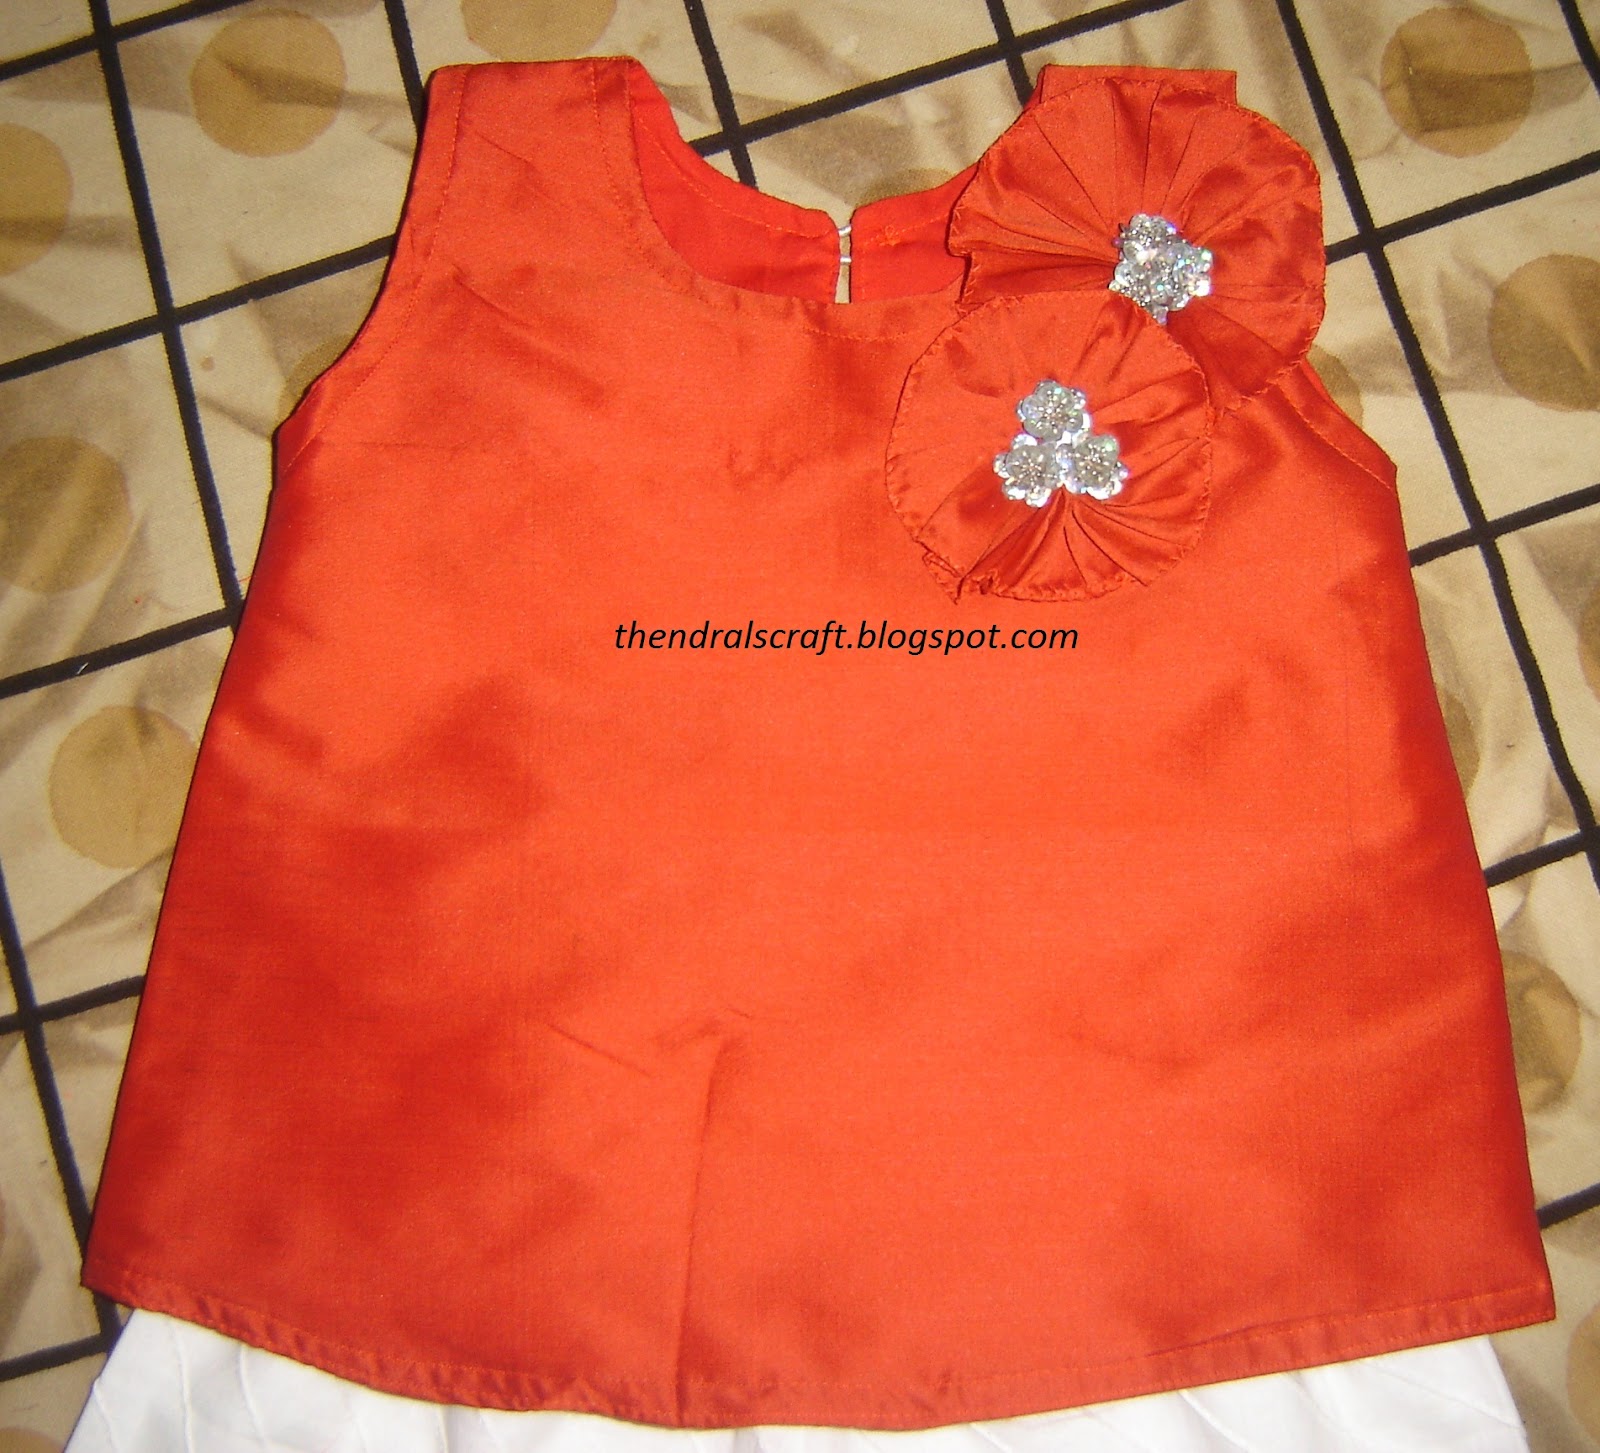
Showing posts with label Outfits. Show all posts
Sunday, November 19, 2017
Saturday, November 19, 2016
Tops..Tops...
I am a big fabric hoarder. Though I am not actively sewing I never forget to buy fabrics whenever I step out for shopping. Addicted to fabrics. Now running out of space even after buying many boxes to organize. So decided to clear some...
The first one is some kind of georgette material. I made a sleeveless tops for my daughter.

The other one is crop top in cotton fabric with rubber prints and lace...

Linked to:
Monday, March 23, 2015
Her birthday dress
The dress I made for daughter to wear on her special day, her birthday. Some may remember this fabric. It is the same fabric I used to make her sister's dress. Actually this is another version with the same combo. Another matching dress for the sisters.
I was busy with some personal work and started working on this dress very late, so I kept it very simple. As per my daughter's wish it was a long (floor length) dress with velvet shrug.
Some more views of the dress. Back...
without shrug...
The dress is incomplete without the matching accessories. So, here they are, the matching hair band...
Necklace and earrings
Happy sisters...
Wednesday, September 10, 2014
Her Birthday dress
One more year completed... And my dear little one is now 2 years old.
I made two dresses for her.
Instead of skirt and blouse I made a long dress in silk.
I made two dresses for her.
Instead of skirt and blouse I made a long dress in silk.
When she grows up, I can use it as top and pair it with leggings(what an idea!!!!:))
Photos by Uthayachandran |
This is how, the dress look at the back.
Photos by Uthayachandran |
And the neck design is done by me... aari embroidery with stones. I am learning it, this is first neck design.
Monday, August 6, 2012
Girls top and pant
I made this top and pant to gift my neighbour's one year old daughter, for her first birthday.
The top is made from silk cotton fabric, the pant is plain pintuck cotton fabric. It is a sleeveless top with back open. I made some flowers using scrapes to embellish the top
Flower details...
The closer view of the top...
The back...
Hope you love this... Thank you very much for visiting my blog though I am not very active. Meet you soon with another creative work...
I am linking this to the parties here
Wednesday, March 21, 2012
Her birthday dress...
This year I kept it simple, since I can't spend much time in sewing and I finished this dress in two days, one day for drafting and the next day for sewing. The material itself glitters more, so no embellishment expect the ruffles at the waist line. Hope you can remember this material, once I made a skirt and top for my cousin with this. I loved the material very much and got the same for my daughter.
About the headband, I made two flowers and joined them to make a big one. I like this flower headband and have plans to make some more bands with scraps. If possible I will try to write a tutorial when I am making the next one. Hope you too like this...waiting to hear your comments. Thank You

Tuesday, December 13, 2011
Bridal blouse
As I said you earlier, here are the pictures of the bridal blouse I made for my sister's wedding. The wedding saree is traditional reddish maroon color silk saree .

The knots at the back are detachable.
The sleeves...
I am linking this to the parties here
Update:
Featured at

Monday, November 28, 2011
Banded yoke top/frock tutorial
The draft contains two part, the yoke and the body. It is open at back for easy in and out. It is easy to make. Any one who knows how to finish a neck line can make this top/frock. Here I have made a frock, to see how the top looks click here.
Take a basic draft for top.
Measure the shoulder, here it is 2.5 inches.
Mark a band around the neck with the width 2.5 inches as shown in the picture.
Cut the band, this is the yoke and the other part is the body. Preserve the body part we need it later.
TO MAKE THE YOKE
FIGURE-A
(click to view larger)
- Fold the yoke as shown in the picture. Keep the yoke on fold(4 layers, this will result 2 yoke pieces).
- Mark it with 1/4 inch seam allowance.
- Cut it.
- This should result an oval as in the picture
FIGURE-B
(Click to view larger)
- Keep the pieces such that right sides faces each other and stitch along the outer edge as in the picture.
- After stitch the outer edge, the yoke band looks as in picture 2
- Turn the band to the right side and press it.
FIGURE - C
(Click to view larger)
Follow the figure C to fold the yoke and find the center part at the back side of the yoke. Cut it, it is the open at the back for button or zip. The yoke is now ready.
TO MAKE THE BODY
Breadth of the body=Chest+Extra inches for
pleats+ seam allowance
Height= as you wish
If you are going to make a top, 3 inches for pleats is enough, here I am making a frock so I have taken 6 inches (Note note the draft is placed on folded material so 6 inches means 12 inches)
Therefore the,
breadth= Chest+12 inches+seam allowance
Hope I am clear....Make the back in the same way.
Finish the armhole with bias strips.
I have used box pleats in the front(you can also use knife pleats) and knife pleats at the back. Cut the desired length at the center of the back piece for open
The body is ready.
Now we have to attach the yoke with the body. Stich the yoke such that it overlaps the body.

Join both the front and back with the yoke.
FIGURE-D
- Attach the back and front with the yoke.
- Finish the back opening..
- Finish the neck with piping or as you wish.
- Stitch the button holes and buttons.(sorry the numbers 3 and 4 should be interchanged in the figure)
The dress is almost ready. Join the sides and add ruffles if you wish.
I have added some lace in the neck line and decorated the yoke with small crochet flowers and beads

NOTE:
- Material requirement( for 41/2 yrs old)
yoke: less than 1/2 meter
( you may require more material if you making ruffles
with the same material)
body(skirt):1/2 meter
( you may require more material if you making ruffles
with the same material)
body(skirt):1/2 meter
- You can decorate the edge using lace instead of ruffles.
- Instead a 'back open', you can make it at the shoulders.
- You can use an interface, if you want the yoke to be more stiff.
Hope I am clear and if you have any doubts feel free to ask me. Thank you for your wonderful support and comments, it drives me to create more. Meet you soon...
I am linking this to the parties here
Featured at

Monday, November 7, 2011
Deepavali dress
Hello friends, I am here after a short break....I was little busy with the family function(my sister's marriage) and then the festival. But there are many things to share with you. I designed the bridal blouse for my sister and a pattu paavadai for my daughter. Yet to receive the photos from my brother, so I'll post it later.
And now the deepavali dress I designed for my daughter..
the back....
I just started it the day before the festival, so I kept very simple to finish it fast. Since the material is plain, I used some stones and beads to decorate and stitched motifs in the skirt.
the details...
Looking forward for your comments... Keep watching for
the tutorial - top with banded yoke. I will finish it in a couple of days.
Linking to the parties here
Thursday, September 15, 2011
Shirred dress/top tutorial
Last week I made this shirred dress for my dd. You can make this in just half hour time. No pattern...no draft... easy. I am sharing it with the photos, so that you can make one if you wish...
Take the fabric piece of breadth 40 inches(double the chest measurement) and length as you wish.
Hem the edge...
Fold the other edge twice and press. You can make a stitch over it if needed, but I have not.
Now, the shoulder straps...
Take a strip of cloth 4 inches wide and 18 inches long.
1. Fold it and stitch along the side.
2. you will get a fabric tube
3. Turn it inside out.
4. Press it.
5. Cut it in to two equal parts, the shoulder straps are ready.
Pin the shoulder straps to the dress (at the edge folded and pressed) as shown...
To attach the shoulder straps, fold the dress, mark 5 inches from the sides and pin the straps...Do the same for the back side also.
I have marked lines to make my stitches straight. I have stitched 5 lines from the top each 2 inches apart. you can decrease this to have more shirring.
Now load your bobbin with the bobbin elastic and first stitch the top most edge where we have attached the shoulder strap.
Stitch the other lines in the same way... Join the sides...
And the dress is ready to wear. Isn't it so simple?
Variations:
* If you don't have enough cloth then you can cut two pieces, back and front.
But join them before you stitch the hem, to get a neat finish.
* You can reduce the length and make it as a top,to match legging or even a jeans pant
* You can add ruffles or laces to the hem to enhance its beauty.
*While shirring don't forget to back stitch at the beginning and at the end to secure the stitches.
Hope I am clear with the steps, if not feel free to ask me ...
Next post will the banded yoke top tutorial, so keep watching...
Thanks for the lovely comments you give me.
Next post will the banded yoke top tutorial, so keep watching...
Thanks for the lovely comments you give me.

Subscribe to:
Posts (Atom)